Hello, fellow yarn lovers! Get ready to slither into something utterly adorable because today, we’re diving into the charming world of crochet snails with our fantastic Crochet Snail Amigurumi Idea and Patterns! Imagine a plump, huggable snail, its shell a swirl of captivating colors, its little antennae perked up with curiosity. This little friend is destined to become a cherished companion, a delightful touch of whimsy for your home, or the most thoughtful handmade gift you’ll ever give.
Whether you’re just learning to crochet your first amigurumi or you’re a seasoned pro looking for a quick and sweet project, these patterns are perfect for you! We’ll guide you step-by-step, sharing tips and tricks to create your very own snail army. Prepare to be inspired and to discover the joy of bringing these slow-and-steady cuties to life with your own two hands!

Craft a Cute Companion: Crochet Snail Amigurumi Idea and Patterns
There’s something undeniably charming about a slow-moving snail, and translating that gentle essence into a crochet amigurumi is a project that brings immense joy and a delightful finished product. Whether you’re a seasoned crocheter looking for a quick and satisfying make, or a curious beginner eager to dive into the world of stuffed toys, a crochet snail is a perfect starting point. Its simple, rounded shapes are forgiving, and the opportunity for personalization is endless. Let’s explore the delightful world of crochet snail amigurumi, from choosing your materials to bringing your little shelled friend to life.
Yarn and Hook Recommendations: Building Your Snail’s Shell and Body
The foundation of any amigurumi project lies in your yarn and hook selection. For a cuddly and durable snail, we recommend using worsted weight yarn. This is a popular choice for amigurumi as it creates a nice, firm fabric that holds its shape well without being too stiff. Cotton or a cotton blend is ideal, offering a lovely matte finish and excellent stitch definition. Acrylic yarns are also a budget-friendly and widely available option, providing a soft and washable toy.
Yarn Weight: Worsted weight (also known as Aran in some regions) is generally the go-to. You can also experiment with heavier yarns like bulky for a larger, squishier snail or lighter weight yarns like sport or DK for a daintier creation.
Hook Size: The key to creating tight stitches that prevent stuffing from peeking through is to use a hook size that is slightly smaller than what the yarn label recommends. For worsted weight yarn, a 3.0mm (D/3) or 3.5mm (E/4) hook is usually a good starting point. Always do a small swatch to check your tension – you want a fabric that’s dense but still pliable.
Fiber Content: 100% cotton or cotton blends (like cotton/acrylic) are excellent choices for their stitch definition and washability. Acrylic is a great beginner-friendly option for its affordability and ease of care.
Mastering the Stitches: Your Amigurumi Toolkit
Creating your crochet snail involves a few fundamental amigurumi stitches. Don’t be intimidated; once you’ve got these down, you’ll be able to tackle a vast array of stuffed toy patterns!
Magic Ring (or Magic Circle): This is the cornerstone of amigurumi. It creates a tight, adjustable starting circle that leaves no hole in the center of your piece, ensuring a neat finish for the snail’s body and the base of its shell.
Single Crochet (sc): The workhorse of amigurumi. This is what will form the majority of your snail’s body and shell. It creates a dense, sturdy fabric.
Increase (inc): To make your pieces bigger and rounder, you’ll use increases. This typically involves working two single crochets into the same stitch.
Decrease (dec): To make your pieces smaller and shape them, you’ll use decreases. The most common method in amigurumi is the invisible decrease, where you work a single crochet through the front loops of two adjacent stitches. This creates a less noticeable seam.
Slip Stitch (sl st): Used to join rounds or finish off your work.
Stitch Marker: Absolutely essential for amigurumi! Since you’ll be working in continuous rounds (without joining with a slip stitch and chaining at the end of each round), a stitch marker will help you keep track of the beginning of each round, preventing you from losing your place.
Tips for Beginners: Navigating Your First Snail
Embarking on your amigurumi journey with a snail is a fantastic choice for beginners. Here are some tips to make your experience smooth and enjoyable:
Read the Pattern Thoroughly: Before you pick up your hook, read the entire pattern from start to finish. Familiarize yourself with the abbreviations and the order of operations.
Count Your Stitches: This is crucial! After each round, take a moment to count your stitches to ensure you haven’t accidentally added or missed any. Consistency is key to a well-shaped amigurumi.
Stuff as You Go: Don’t wait until the very end to stuff your snail. As you complete sections, begin to add stuffing. This makes it much easier to evenly distribute the filling and shape the piece. For the snail’s body, stuff firmly to give it a good, plump shape. The shell can be stuffed a little more lightly.
Use a Yarn Needle for Assembly: Once all your pieces are crocheted, you’ll need to stitch them together. A yarn needle with a blunt tip is essential for weaving in ends and securely attaching the head and shell to the body.
Don’t Be Afraid of Mistakes: Everyone makes mistakes when crocheting, especially when learning new techniques. If you realize you’ve made an error, it’s often easier to frog (unravel) a few stitches or rows than to try and fix it later. Embrace the learning process!
Practice Your Magic Ring: The magic ring can be a little fiddly at first, but practice makes perfect. Watch a few video tutorials – seeing it done can be incredibly helpful.
Personalizing Your Little Friend: Colors, Sizes, and More!
One of the most delightful aspects of crocheting amigurumi is the endless scope for customization. Your snail can be as unique as you are!
Color Combinations:
Classic Snail: Use a soft brown or earthy tone for the body and a swirl of contrasting colors for the shell – think a creamy white and brown, or a cheerful yellow and orange.
Rainbow Snail: Make each stripe of the shell a different color of the rainbow for a vibrant and playful friend.
Monochromatic Charm: Opt for different shades of the same color for a sophisticated and understated snail.
Fantastical Creatures: Don’t limit yourself to realistic colors! Create a pastel pink snail with a shimmering silver shell, or a deep blue snail with a galaxy-inspired shell.
Embellishments: Consider embroidering a small smile, rosy cheeks, or even tiny polka dots onto the snail’s face.
Size Matters:
The size of your snail is primarily determined by the yarn weight and hook size you use.
Tiny Snails: Use lace weight or fingering weight yarn with a very small hook (1.5mm – 2.0mm). These are perfect for keychains or as little decorative accents.
Standard Snails: As mentioned, worsted weight yarn with a 3.0mm – 3.5mm hook will give you a delightful palm-sized snail.
Jumbo Snails: Bulky or super bulky yarn with a larger hook (5.0mm – 8.0mm) will result in an impressively large and huggable snail.
Caring for Your Crochet Companion: Keeping Your Snail Looking Snuggly
Your handmade snail is a treasure, and with a little care, it will bring smiles for years to come.
Washing: Most acrylic and cotton yarns are machine washable. Check your yarn’s label for specific instructions. If you machine wash, place your amigurumi in a mesh laundry bag or pillowcase and use a gentle cycle with cold water.
Hand Washing: For more delicate yarns or if you prefer to be extra cautious, hand washing is recommended. Use cool water and a mild detergent. Gently squeeze out excess water; avoid wringing.
Drying: Never put your amigurumi in the dryer! The heat can melt acrylic yarn or cause the stuffing to clump. Instead, gently reshape the snail and lay it flat on a towel to air dry. You can also carefully roll it in a dry towel to absorb excess moisture.
Spot Cleaning: For small stains, you can often spot clean with a damp cloth and a tiny amount of mild soap.
Project Ideas: Beyond Just a Cute Toy
Your crochet snail is more than just a cuddly friend; it can be incorporated into a variety of delightful projects!
Keychain or Bag Charm: Make a smaller snail using fingering weight yarn and attach a keychain ring.
Amigurumi Mobile: Create several snails in different colors and sizes to hang from a baby mobile.
Stuffed Animal Collection: Combine your snail with other amigurumi animals to create a whimsical menagerie.
Holiday Decorations: Crochet snails in festive colors for seasonal decor. Imagine a Halloween snail in black and orange, or a Christmas snail with a red and green shell!
Playful Companions for Dolls: Your snail can be the perfect pet for a child’s favorite doll.
Gifts Galore: A handmade amigurumi snail is a thoughtful and cherished gift for people of all ages.
So, gather your yarn, hook your stitches, and prepare to create a charming crochet snail that’s sure to bring a touch of handmade magic into your life. Happy crocheting!
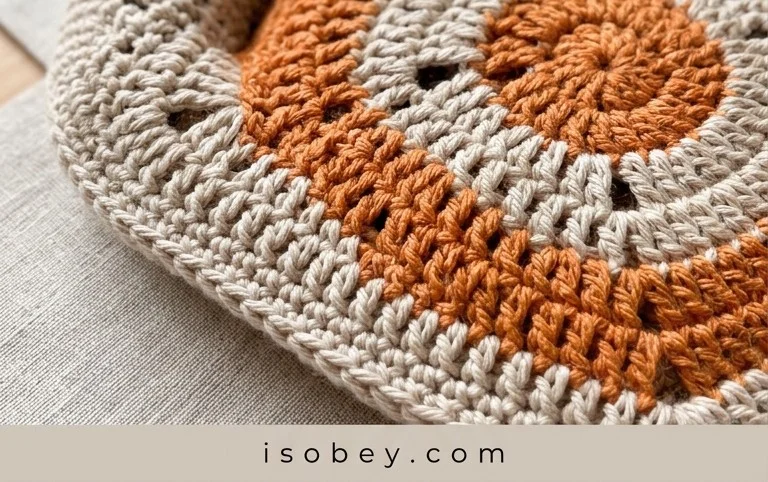
We hope this crochet snail amigurumi pattern has sparked your creativity! Isn’t it a charming little creature to bring to life with yarn? We truly encourage you to grab your hook and give this pattern a go. Imagine the joy of seeing your very own snail take shape. Once you’ve completed your adorable creation, we’d absolutely love to see it! Share your finished snail on social media using # so we can all admire your handiwork. Feel free to experiment with different yarn colors to create a whole garden of unique snails, or perhaps add some embellishments for extra personality. And don’t stop here – explore our other crochet patterns for more delightful projects to fill your crafting days!